Today I will show you how I made the Cute Twitter Icons which I released a day ago. It’s really simple actually. In this tutorial, you will learn how to create a Cute and Adorable Twitter Icon. Throughout this tutorial, you will use some of the basic tools like Ellipse Tool, Pen Tool and Gradient Tool. Here’s a quick preview on the icon that we will make.


If your ready then lets start.
Step 1
Open a new document 530×530. Set the foreground color to #a4fef4 and background color to #e2f6ed. Choose Gradient Tool and apply gradient to our layer.


Step 2
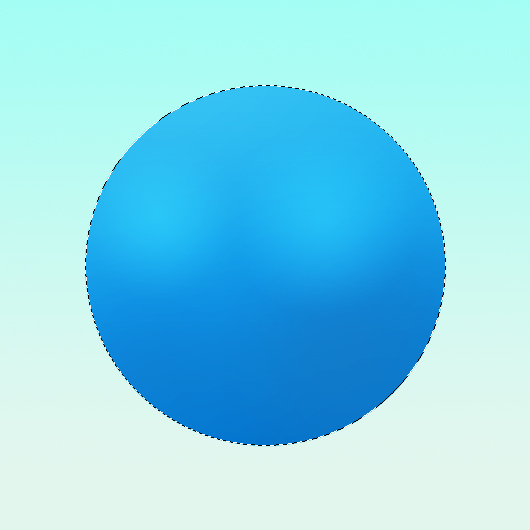
Create a new layer and name the layer to Circle. Set the Foreground color to #33c1f2 and background color to #0171cc. Select the Elliptical Marquee Tool then create a circle selection. Now Choose Gradient Tool Then apply the gradient inside the selected circle from your first point to 280 degree direction.


Step 3
Create another layer and name it to Eye Highlight. Set the color to #28c3f7. CTRL+ click on the Circle layer so we can create a selection. Now Select Gradient Tool and set the mode to Foreground to Transparent and Radial Gradient. Now apply it on the eye area. See the image below.

Step 4
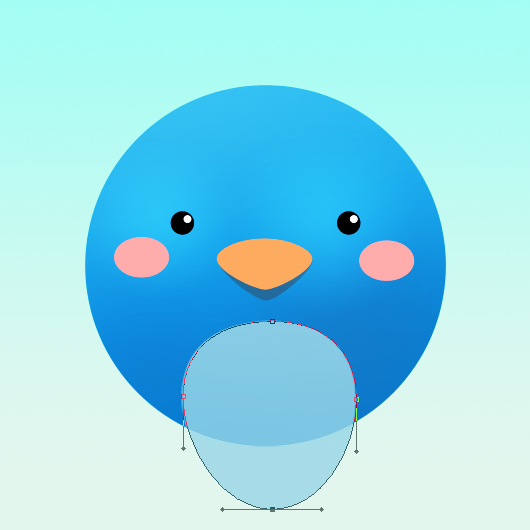
Now for the eye, Create a new layer and choose Ellipse Tool. Set the color to #00000 and create a little circle on the left side. After that create another layer again and set the color to #ffffff. Again create a tiny circle and move it north east inside the Black circle. Select the 2 circle layers on the layers palette and press CTRL+G to group the 2 layers. Name the group layer to Left Eye. Now Right click The Left Eye group and choose Duplicate Group. Move the duplicate group on the right side and name it to Right Eye. It will now look something like this.


Step 5
For the blush, Create a new layer and name it to Blush Left. Set the color to #feadac. Select Ellipse Tool and create an oval shape. Once your done move it on the left position. Duplicate the Blush Left layer and move the duplicate layer to the right side then name it to Right Layer. See the sample below.


Step 6
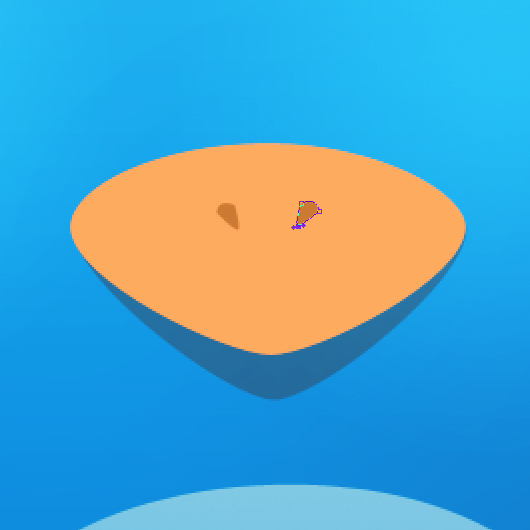
Now for the bill, Create a new layer and name it to Bill. Set the color to #fdab5f. Choose Ellipse Tool and create an oval shape. Now select the Direct Selection Tool and adjust the anchor points.


Step 7
Adding a little shadow on the Bill, Duplicate Bill layer and name the Duplicate layer to Bill Shadow. Change the color of Bill Shadow to #236a98. Select Direct Selection Tool and adjust the bottom.


Step 8
Create a new layer and name it to Body Light. Choose Tool and create an oval shape then select Direct Selection Tool and adjust the anchor points. See the image below on it looks like.

Step 9
Right click the Body Light layer and select Rasterize Layer. Then select Erase Tool and erase the bottom part a little in 20% Opacity and 195 px Master Diameter.


Step 10
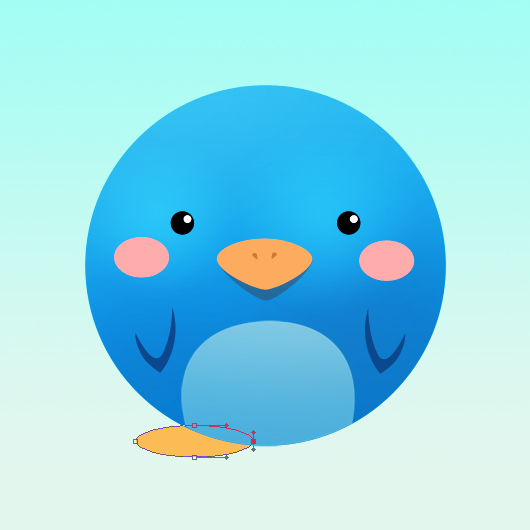
Now for the little wings, Create a new layer and name it Wing Left. Select Ellipse Tool and create an oval shape again. Now adjust the anchor points of the Oval shape and make it look like this.


Ads
Step 11
Now Duplicate the Left Wing layer then select the duplicate layer. Go to Edit>Horizontal>Flip Horizontal. Move the Duplicate layer to the right and name it to Right Wing. We have something like this.


Step 12
Create a new layer and name it to Nose Left. Set the colors to #cb7b34. Select Ellipse Tool again and Create an oval shape then adjust the anchor point. Duplicate the Nose Left then go to Edit>Transform>Flip Horizontal. Move the duplicate layer to the right side and name it to Nose Right.

Step 13
For the feet, Create an new layer below Circle layer and name it to Left Foot. Set the color to #fbbc55. Select Ellipse Tool and create an oval shape.

Step 14
Adding a little shadow to the foot, Select Burn Tool in 10% Exposure and Highlights in Range. See the sample image


Step 15
Now Duplicate the Left Foot. Go to Edit>Transform>Flip Horizontal. Move the Duplicate layer on the right side using Move Tool and name it to Foot Right.


Step 16
Adding shadow on the feet. Create a new layer below the The Left Foot layer. Set color to #000000. Choose Brush Tool and apply the brush below the feet. After that go to Filter>Blue>Gaussian Blur. On Gaussian Blur set the radius to 15 px.

Step 17
Finally, lets add a some hair on the head. Create a new layer and set the color to #1a8fd4. Name the layer to Hair. Choose Pen Tool and start creating anchor points. Also, use Direct Section Tool for adjusting the Anchor point.

Now we are done on creating this simple and adorable Twitter Icon.


I hope you like it.


0 comments:
Post a Comment